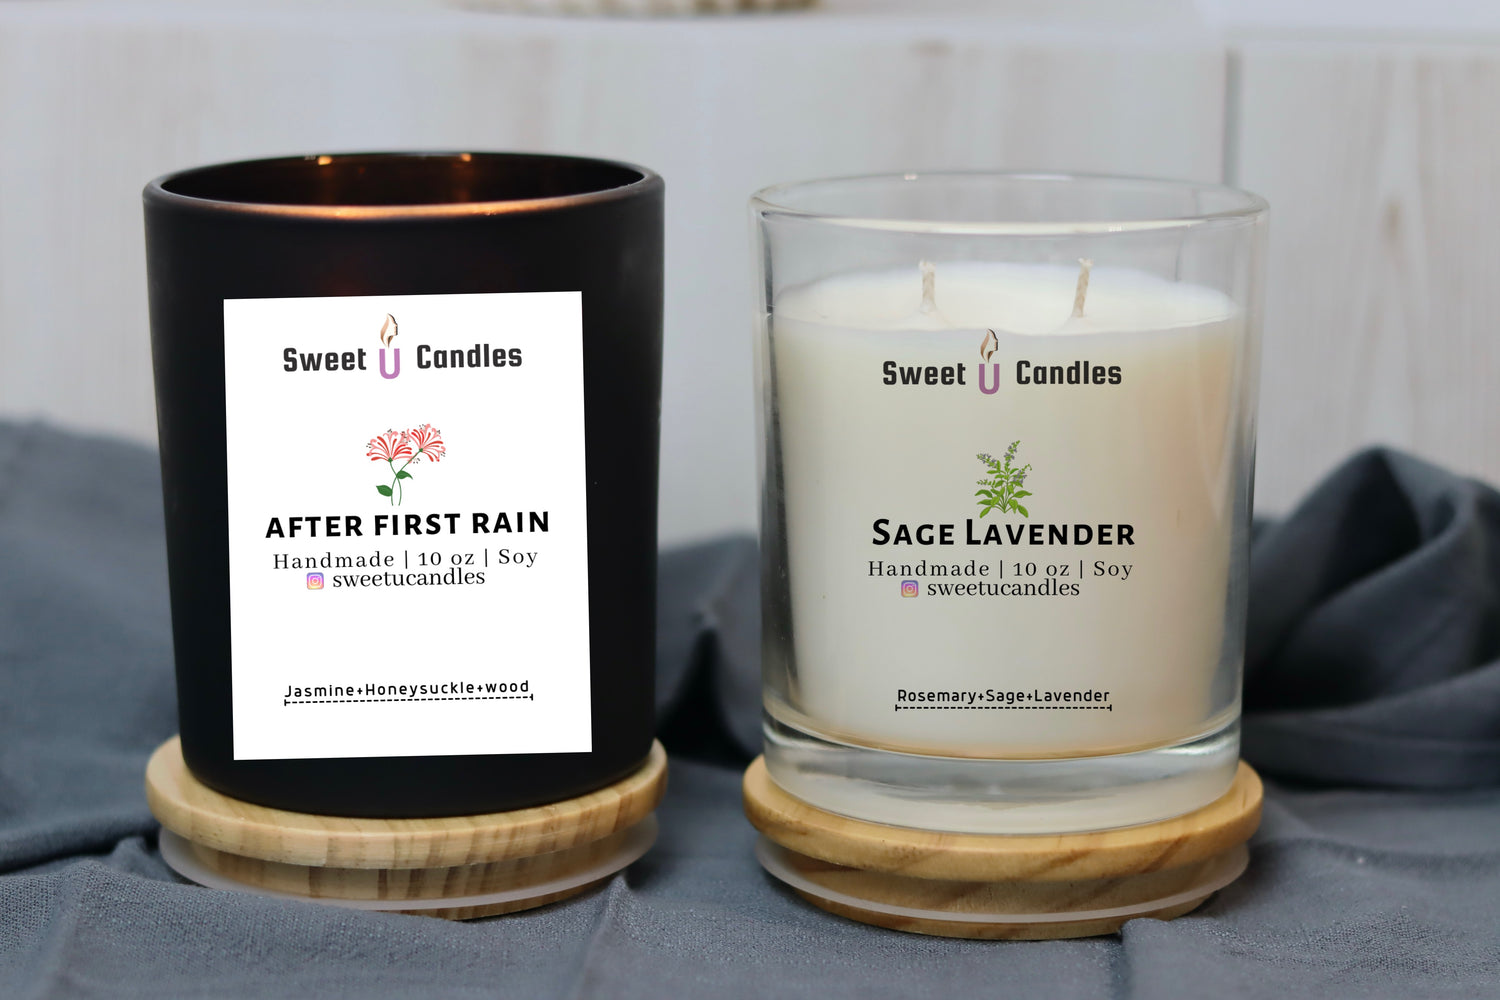
Candle making combines creativity with a touch of science. This guide is designed to help beginners and seasoned crafters alike understand the nuances of creating the perfect candle. From respecting the wax manufacturer's recommendations to perfecting the pour, we'll guide you through each crucial step, backed by data, to ensure your candle making journey starts on a solid foundation.
1: Wax Manufacturer's Recommendations
Understanding Your Materials
Before diving into the melting pot, it's imperative to start with the manufacturer's guidelines. Different waxes—like soy, beeswax, or paraffin—have unique properties and requirements. Here's what you need to pay attention to:
- Melting Points: Each wax type has a specific melting point, which is crucial for the integrity of your candle.
- Additives Compatibility: Not all waxes behave the same way with dyes or fragrances; some may require specific additives to achieve the desired result.
- Recommended Pouring Temperatures: This can influence the finish and how well the candle burns.
Expert Tip: Always keep the manufacturer's sheet; it's your candle making bible!
2: Temperatures
The Heat Is On: Managing Wax Temperatures
Temperature control is the secret to professional-looking candles. Here's how temperatures affect your process:
- Wax Melting: The correct melting point ensures a smooth, even burn.
- Color and Fragrance: Temperatures can change how these elements interact with your wax.
Practical Table for Reference:
Temperature Table for Wax Melting and Pouring
| Wax Type | Melting Point (°F) | Pouring Temperature (°F) | Notes |
|---|---|---|---|
| Soy Wax | 120 - 125 | 135 - 140 | Ideal for container candles. |
| Beeswax | 145 - 150 | 155 - 160 | Requires higher temps for a smooth finish. |
| Paraffin | 125 - 130 | 130 - 135 | Commonly used for pillar candles. |
| Palm Wax | 140 - 145 | 150 - 155 | May need higher temps for fragrance. |
Note: The exact temperatures may vary based on additives and specific wax formulations.
3: Calculating Wax with a Weighing Machine
The Wax Calculation Formula: The Candle Equation
To calculate the amount of wax you'll need, use the following formula:
- Find the volume of the container in fluid ounces (fl oz) and convert it to milliliters (ml) by multiplying by 29.57.
- Multiply the volume in milliliters (ml) by the wax's density. For paraffin wax, the density is approximately 0.9 g/ml.
- Convert the result from grams to pounds by dividing by 453.59.
Here's a simple table to help you convert fluid ounces to milliliters:
| Volume (fl oz) | Volume (ml) |
|---|---|
| 1 | 29.57 |
| 2 | 59.15 |
| 4 | 118.29 |
| 8 | 236.59 |
| 16 | 473.18 |
Precision Is Key: Measuring Your Way to Perfection
A digital scale is a candle maker's best friend. To calculate the amount of wax needed:
- Weigh your container and note the tare weight.
- Fill with water to the desired level and weigh again; subtract the tare weight to get the water weight.
- Use the wax manufacturer's specific gravity to convert water weight to wax weight.
Step-by-Step Guide:
- Step 1: Place your container on the scale and zero it out.
- Step 2: Fill with water up to where the wax would reach.
- Step 3: Note the weight and multiply by the wax's specific gravity.
4: Prepping the Containers
Ready, Set, Prep: Setting the Stage for Your Wax
Prepping your containers is a step you cannot skip. Ensure the following:
- Wick Placement: Centered and secure.
- Cleanliness: No dust or debris that could interfere with the wax.
- Temperature: A warm container helps with even setting.
Checklist for Prepped Containers:
| Task | Description | Checked |
|---|---|---|
| Clean | Ensure the container is free from dust and debris. | [ ] |
| Heat | Preheat the container to avoid uneven cooling. | [ ] |
| Wick Secure | Make sure the wick is centered and secure. | [ ] |
| Safety Check | No cracks or damage to the container. | [ ] |
Note: This checklist ensures that your containers are ready for the wax and can help prevent common candle issues.
5: Taking Notes
The Candle Maker's Journal: Crafting Your Archive of Experience
Documenting each batch helps refine your process. Include:
- Date and Batch Number: Keep track of your progress.
- Wax Type and Additives: Note any reactions or peculiarities.
- Temperatures and Set Times: These are vital for troubleshooting.
Sample Crafting Log Table:
| Date | Batch # | Wax Type | Additives | Melting Temp (°F) | Pouring Temp (°F) | Set Time | Observations |
|---|---|---|---|---|---|---|---|
| 01/01/23 | 001 | Soy Wax | Vanilla Essence | 125 | 140 | 24 hrs | Smooth finish, strong scent throw. |
| 01/02/23 | 002 | Beeswax | None | 150 | 160 | 24 hrs | Natural color, slight bloom. |
Note: Maintain this log for every batch of candles made to track the outcomes and refine your technique.
Conclusion
The art of candle making combines the creative with the technical. By understanding the exact temperatures needed for each step and accurately calculating wax quantities, you'll ensure that your candles not only look beautiful but also burn efficiently. Whether you're experimenting with scents and colors or perfecting the burn time, the key to a successful candle-making endeavor lies in precision and passion. With the information provided in this guide, you're now equipped to start crafting candles that will light up your space and showcase your newfound skills. Happy crafting!


